

LMS/lms/users-roles/members
Users & Roles
Members, custom roles & groups
What you can do here
Manage who's in your workspace, what they're allowed to do, and how they're grouped. Use it to invite people, define custom roles, and organize members into groups for assigning content.
Add a member
- On the Members tab, click + Add member (it shows how many seats remain).
- Enter their email address.
- Assign a role.
- Send the invitation.
Out of seats? Click • Manage plan and seats to adjust your plan.
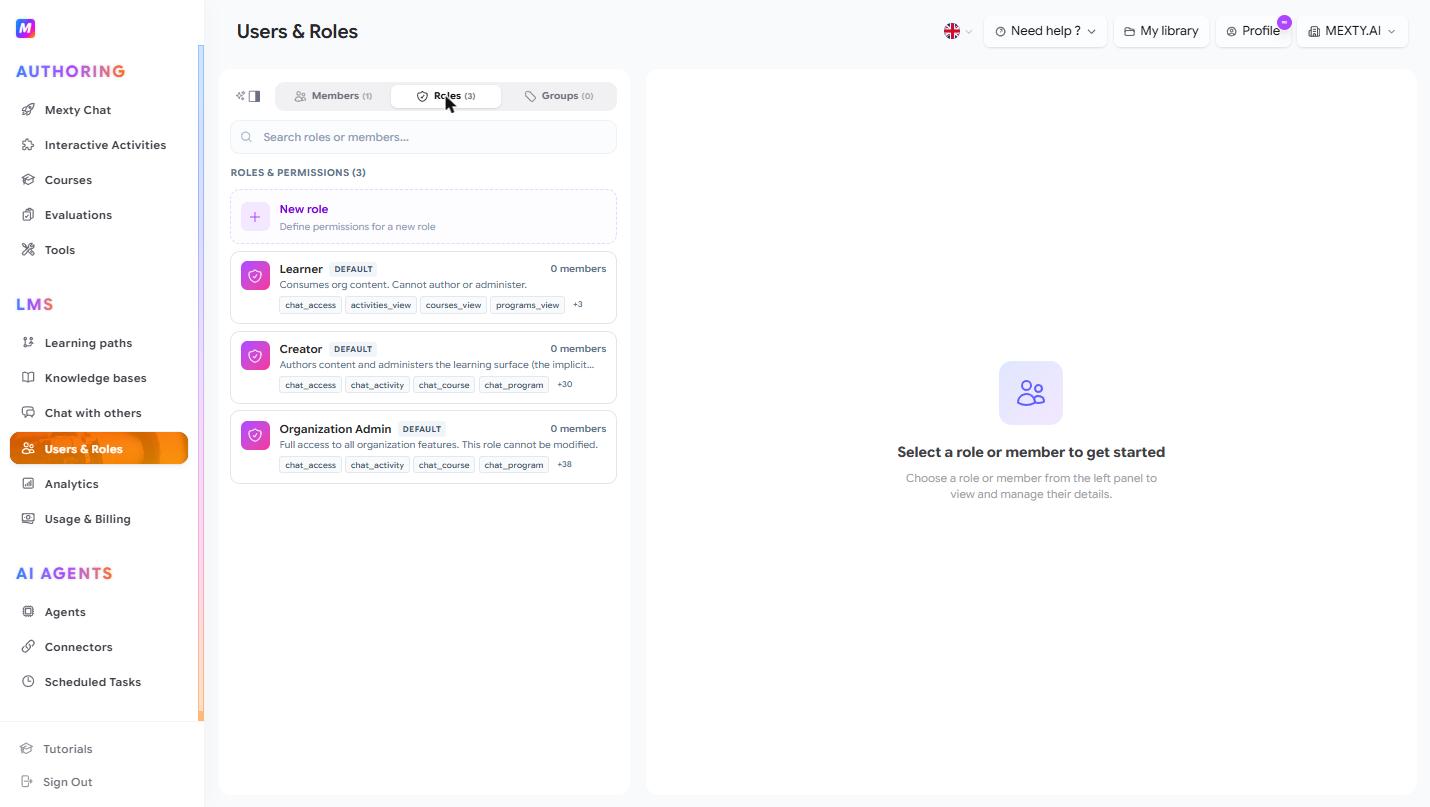
Create a custom role
- Go to the Roles tab and click + New role.
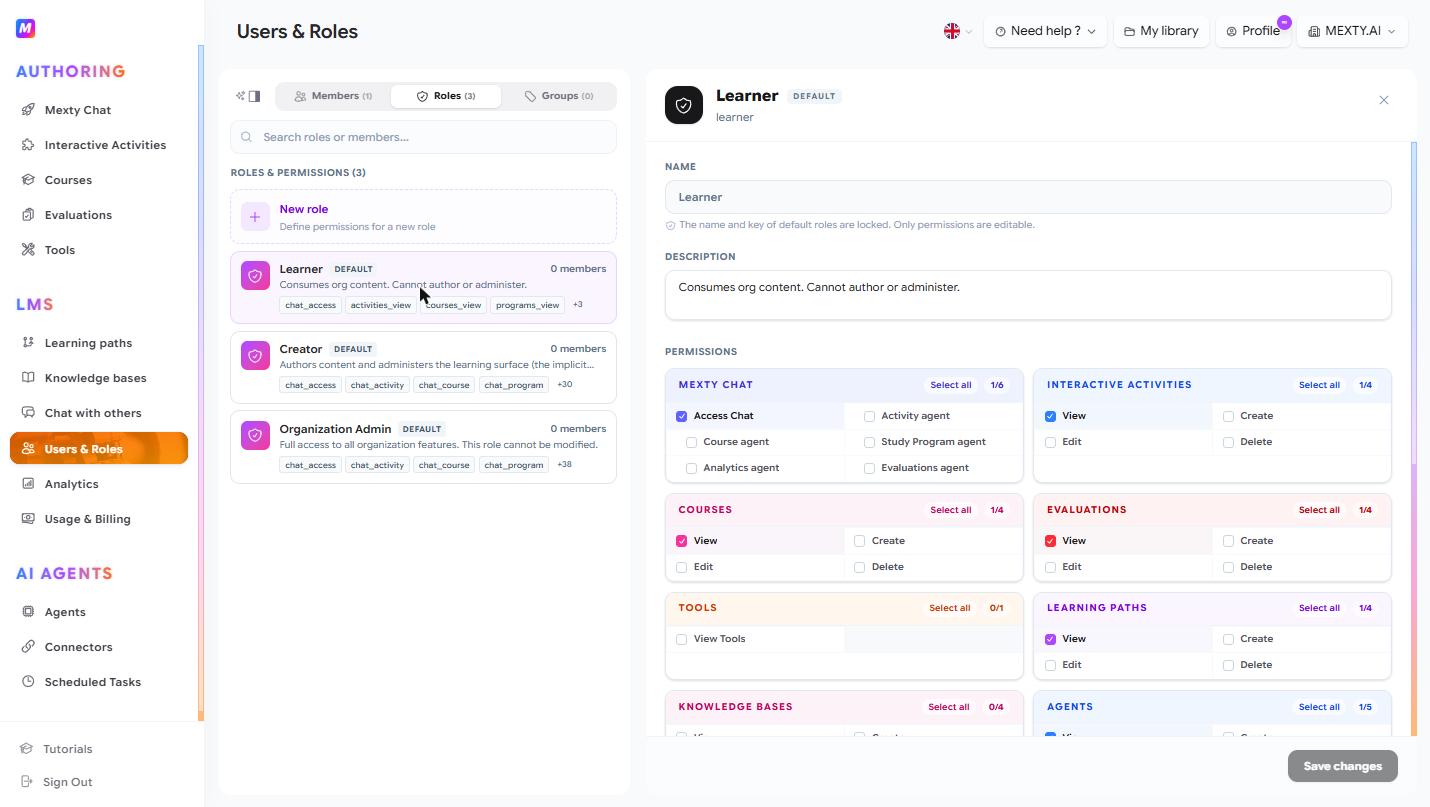
- Name the role.
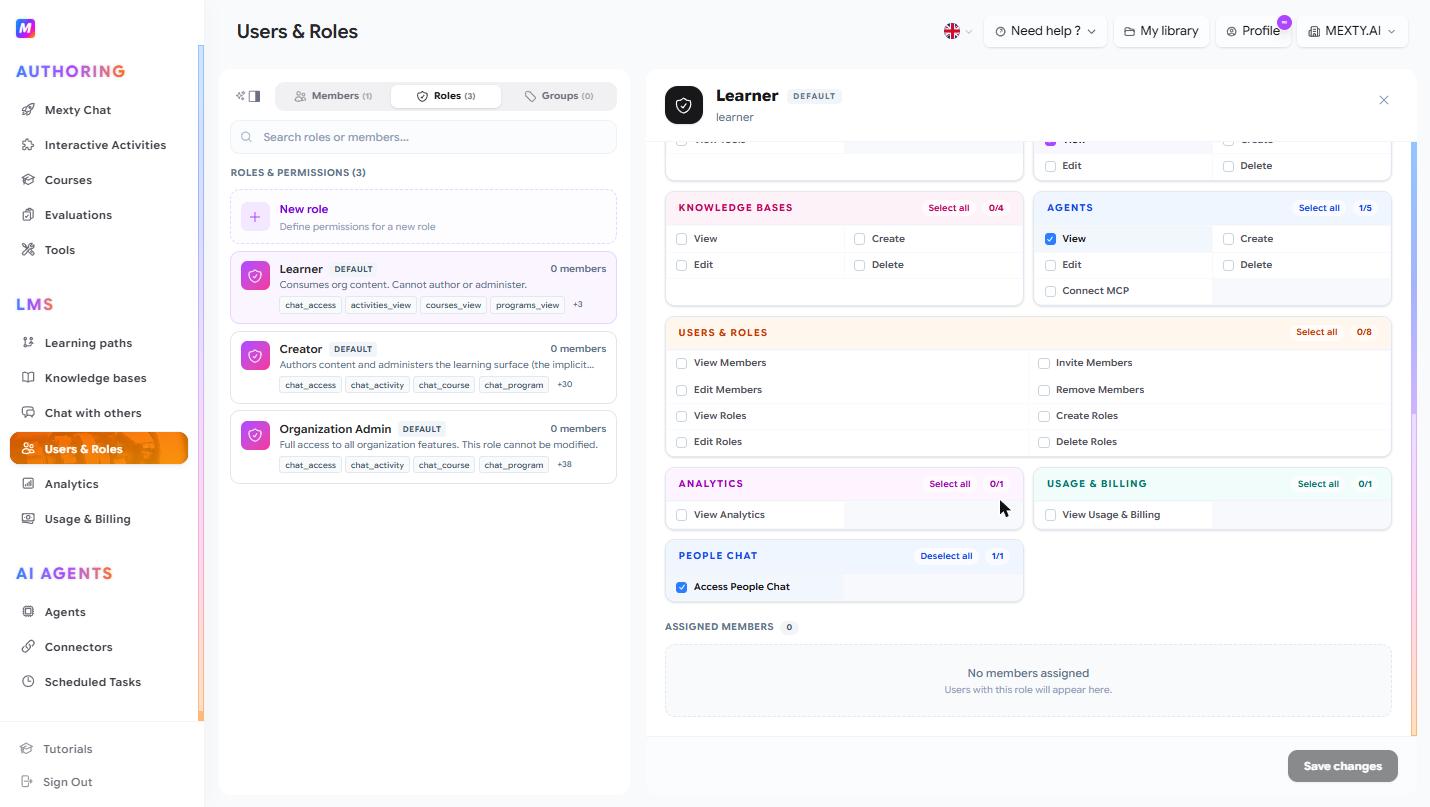
- Toggle individual permissions on or off across Authoring (create / edit / delete activities, courses, evaluations), LMS (manage learners, view analytics, manage billing) and Agents (create / edit agents, use connectors).
- Click Save changes.
To change what an existing role can do, select it, adjust the permission matrix, and save.
Organize members into groups
- On the Groups tab, create a group and name it.
- Add or remove members.
- Assign content (courses / paths) to the whole group at once.
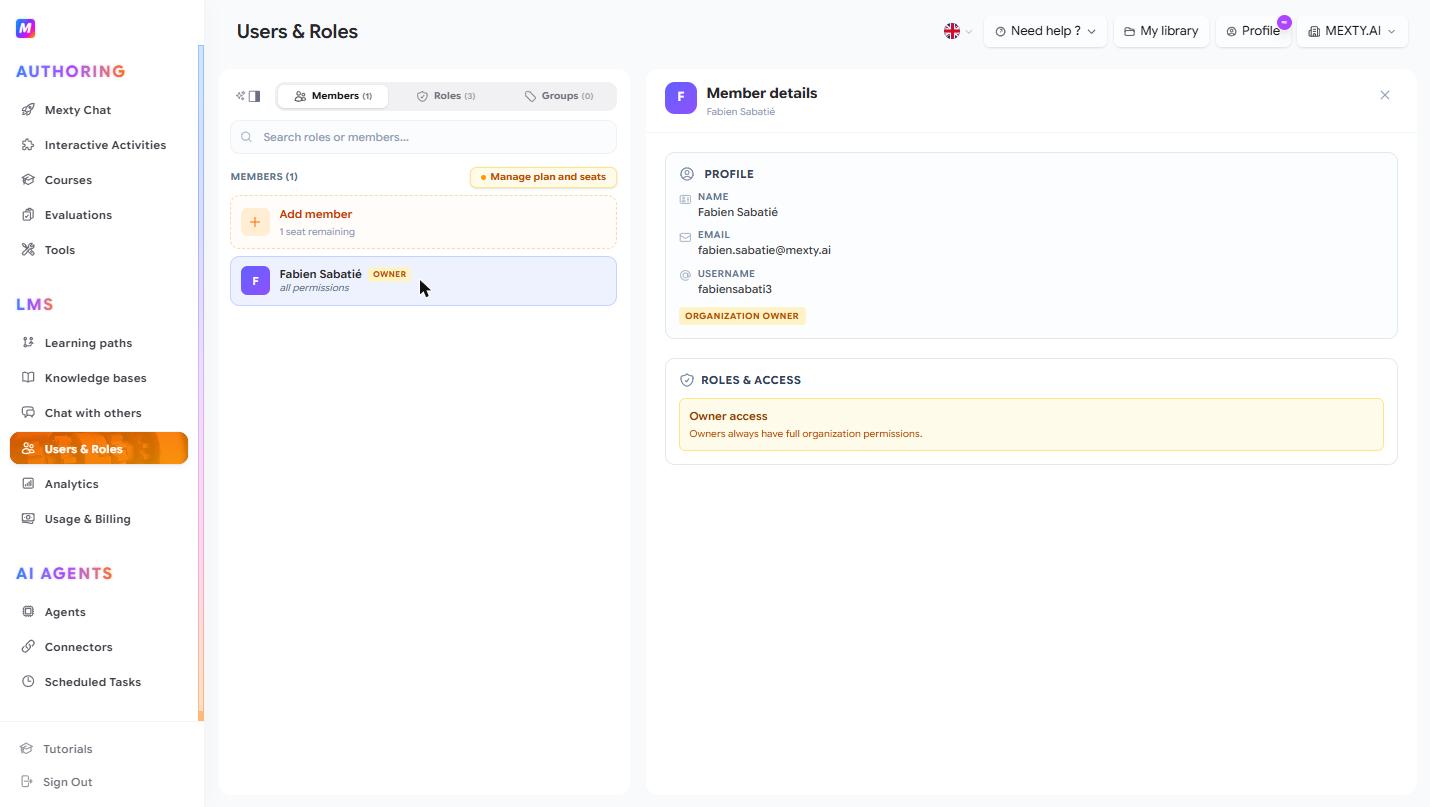
Manage a member
Select a member to view their role, groups and activity, reassign their role, or remove them from the workspace.
Tips
- Build roles around real jobs — e.g. Course Author, Reviewer, Learner — and grant only what each needs.
- Use groups to assign learning to a whole team in one action instead of person by person.
- Check your seat count before inviting people in bulk.